Neutral Tile Cleaner

Terracotta Tiled Kitchen Floor Cleaned and Sealed in Cobham

Terracotta Floor Restored at 400-Year-Old Cottage in Cobham

This Terracotta tile cleaning project in Cobham took a while off the ground as a new kitchen was being installed. Ideally its best to deep clean and seal the floor after the old kitchen is removed and before the new one is installed however you risk the installers making a mess on the floor after it’s been renovated.

In this case we agreed to do the work post installation when the workmen had gone and I would have the kitchen to myself. The quote was agreed and a date agreed well into the future to avoid any delays from the kitchen company.

Deep Cleaning a Terracotta Tiled Kitchen Floor

When the date finally arrived work started by removing wooden kickboards and dressing the new cabinets in protective plastic sheets. This would protect the kitchen units from splashing during the cleaning process.
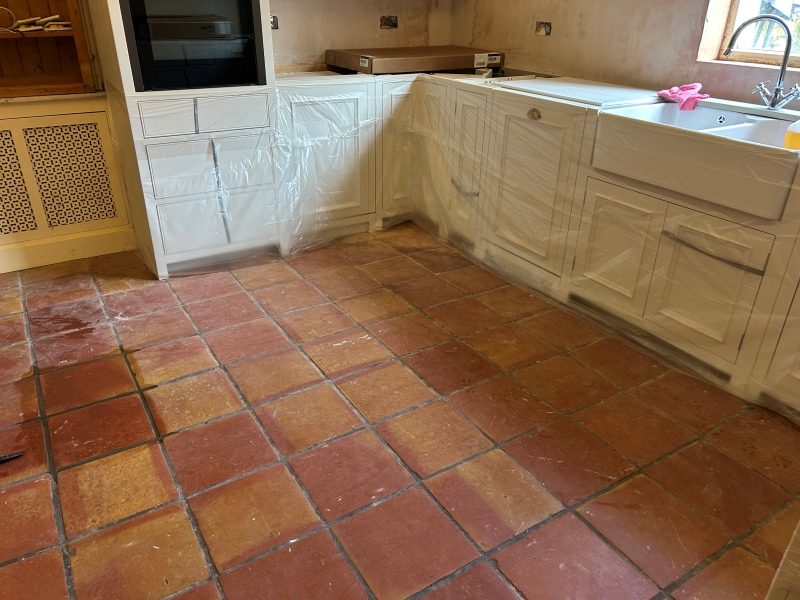
Terracotta Tiled Kitchen Floor Before Cleaning Cobham

Once the units were protected work moved onto cleaning the grout by running a strong dilution of Tile Doctor Pro-Clean along the grout lines and letting it soak in for ten minutes. This gives the product time to soak into the grout and breakdown the dirt and stains that can get caught in the cementitious top layer. The grout was then hand scrubbed using a stiff brush and the soling extracted with a wet vacuum.

Next step was to repeat the process with the Terracotta tiles, again using more Pro-Clean and leaving it to soak for ten minutes before working it in. This time though I used a floor buffer fitted with a 17-inch carbide brush to do the work. These pads are great for cleaning floors and help to lift ingrained dirt out of the pores of the tile up to the surface where if can be easily cleaned away.

The floor was extracted again with the wet vacuum and then rinsed with water and extracted again. Once done the floor was inspected and any stubborn areas re-treated or spot cleaned until I was satisfied the floor was as clean as it possibly could be.

Sealing a Victorian Tiled Hallway Floor

The Terracotta need to be dry before sealing and with it being a very porous material, I made sure to get the floor as dry as possible using the wet vacuum before leaving for the day and left it to dry out fully overnight.

The next day the floor was texted for moisture using a damp meter to confirm it was dry. The readings were acceptable and so the first of what would be several coats of sealer was applied leaving around thirty minutes between coats.

To seal the floor Tile Doctor Seal & Go was used which leaves an appealing satin finish and will work to protect the floor by keeping dirt on the surface where it can be easily cleaned away. The Terracotta tile and grout responded really well to the treatment and finished the transformation of the kitchen.
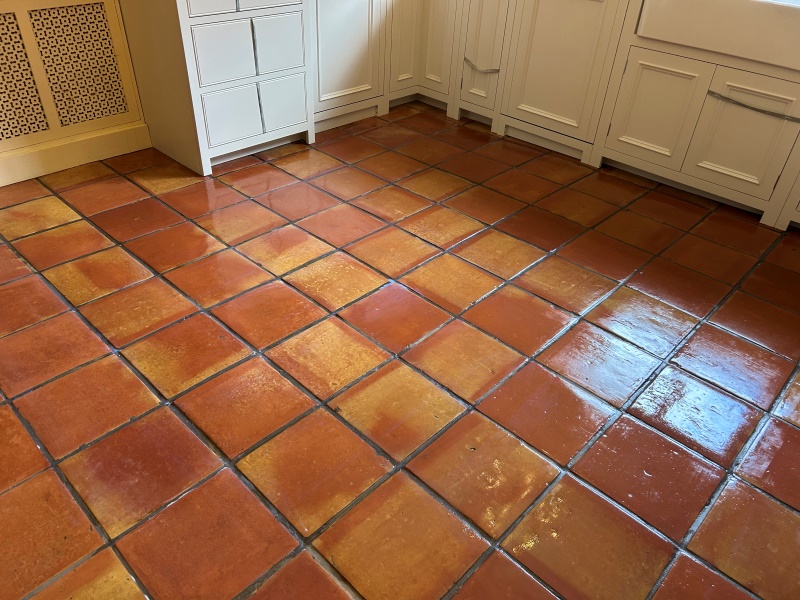
Terracotta Tiled Kitchen Floor After Cleaning Sealing Cobham

For the aftercare of sealed Terracotta floors, I recommend using Tile Doctor Neutral Tile Cleaner which is mild yet effective tile and grout cleaner that won’t impact the sealer. Many of the products you find in supermarkets are bleach based and are too strong for use on a sealed floor resulting in the sealer being eroded prematurely, they can also bleach the colour out of grout.


Professional Renovation of a Terracotta Tiled Kitchen Floor in Surrey

Terracotta Floor Restored at 400-Year-Old Cottage in Cobham Read More »

Brick Floor Restoration Godstone

Brick Floor Restoration in a Godstone Scullery

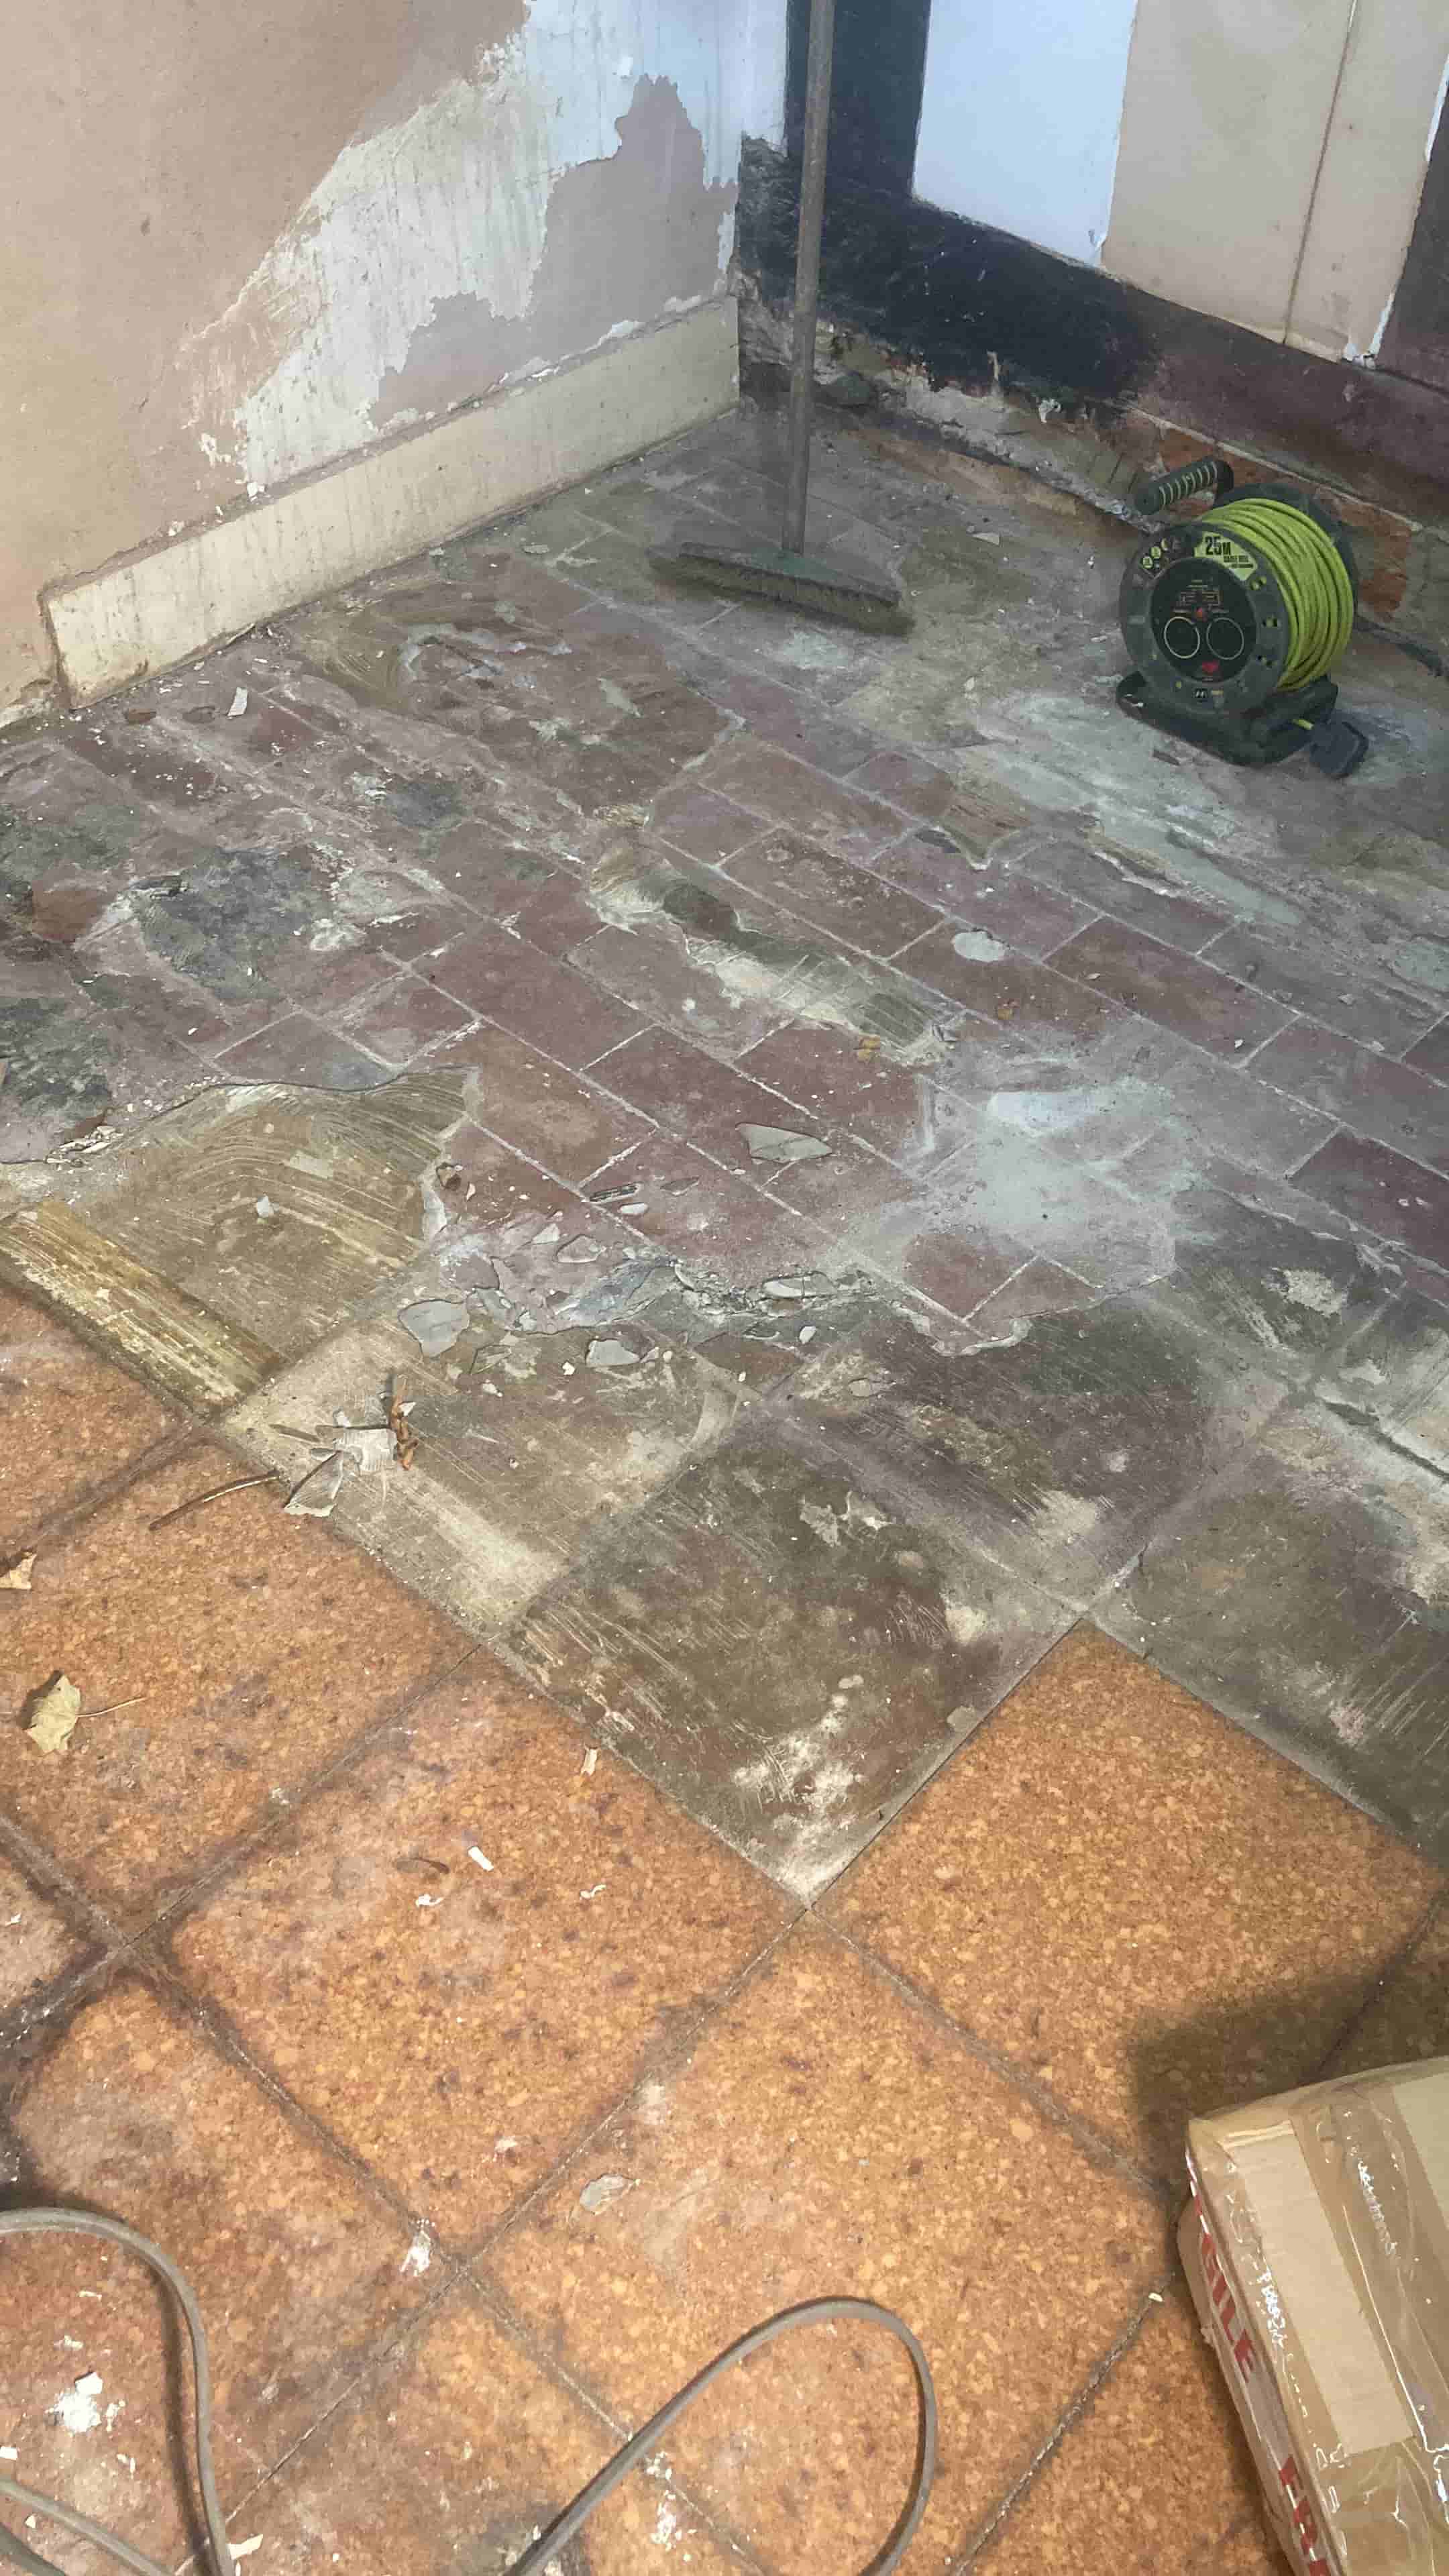
These photographs were taken at an old property in Godstone that was undergoing renovations including the conversion of a scullery with a Brick floor into a children’s playroom. As part of the renovation work the builder had prised off some of the Vinyl tiles and pulled up the cement screed that used to even out the floor underneath.

The builder had advised smashing up the brick floor and laying something else, fortunately the homeowner who wants to keep any original features in the property disagreed. Having searched on the internet for someone to restore the floor they found Tile Doctor and I was asked to take a look.

Brick Floor During Restoration Godstone

Whilst at the property examining the floor I took time to do a test clean and the floor responded well to the treatment. From that I was able to quote for the full restoration of the Brick flooring which was accepted, and a date set for the work.

Removing Cement from Brick Flooring

Work started with the removal of the Vinyl tiles which came off easily with a bit of pressure, not so easy was the adhesive and cement beneath. Using a power chisel, I carefully chipped away at the cement until all that was left was a thin film. Then using a coarse 200-grit burnishing pad fitted to a weighted buffer I managed to smooth out the bricks. The floor was then rinsed with water and the slurry removed with a wet vacuum.

Brick Floor During Restoration Godstone

With all the cement removed the next step was to deep clean the bricks. For this I left a strong dilution of Tile Doctor Pro-Clean to soak in for ten minutes. This time I scrubbed the floor with a less aggressive 400-grit burnishing pad. A few areas in the corners where the pads can struggle to reach were rubbed down with a handheld diamond block. Once done the floor was give another rinse and dried as much as possible with the wet vacuum.

The bricks had been exposed to a lot of water during the rinsing so and with bricks being very porous I left the property over the weekend so it would have time to dry out before sealing.

Sealing Brick Flooring

Returning the following Monday I took several moisture readings from the bricks in several areas using a damp meter. All was well so I processed to apply three coats of Tile Doctor Seal and Go Extra. This product boosts colour and adds an appealing sheen finish that will last for years. This product is also breathable and will allow moisture to rise through the floor which is an important feature when your dealing with old floors that don’t have a damp proof membrane.

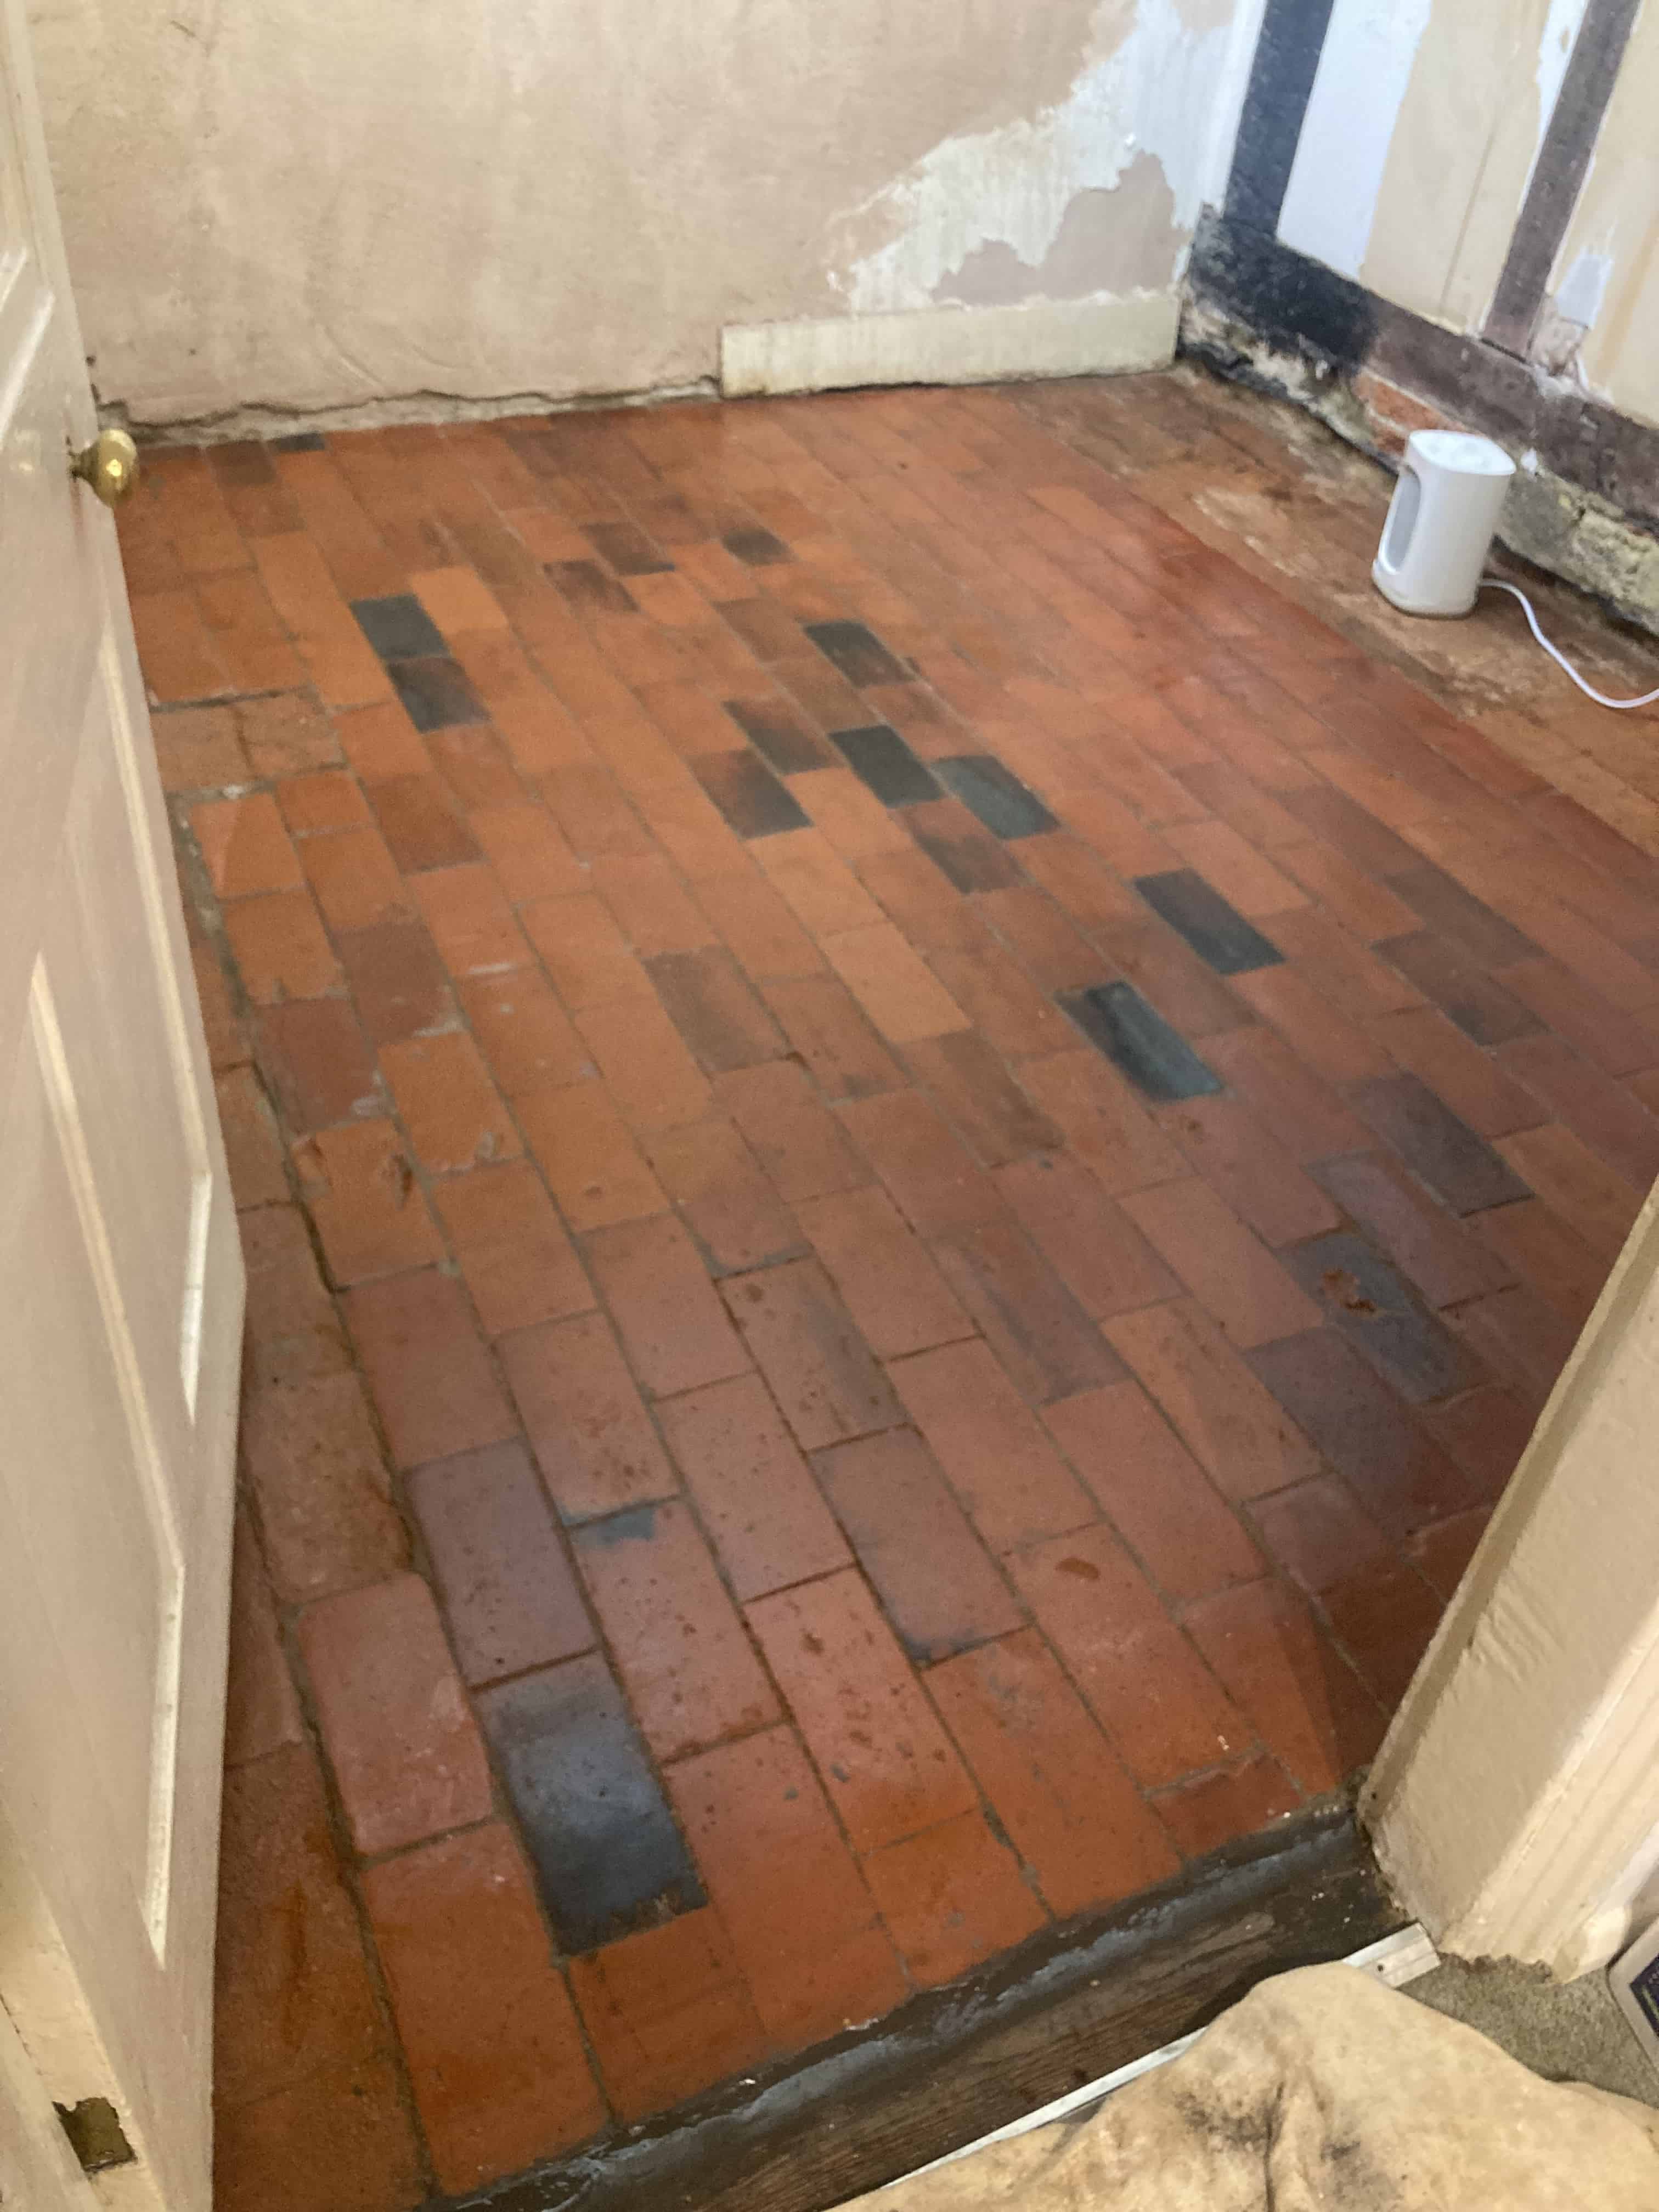
Brick Floor After Restoration Godstone

Our client was very happy with the work we carried out and delighted with their newly restored floor. For cleaning I recommended they use Tile Doctor Neutral Clean which is a pH neutral tile cleaning product for sealed floors.


Professional Restoration of a Brick Floor in Surrey

Brick Floor Restoration in a Godstone Scullery Read More »

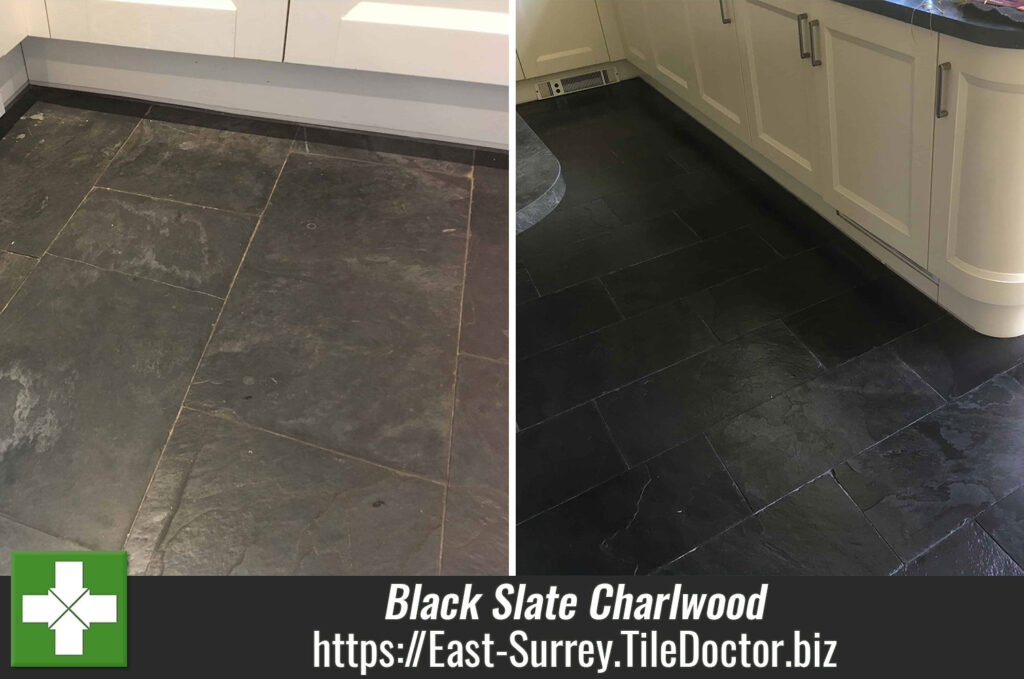
Black Slate Tiled Floor Before After Renovation Charlwood

Problematic Black Slate Kitchen Floor Renovated in Charlwood near Gatwick

This client from Charlwood near Gatwick had a couple of problems with his Black Slate tiled kitchen floor. First the washing machine had leaked something onto the tiles and second their son had a habit of scraping his toys across the floor. All of this had taken its toll on the original sealer and the Black Slate was now stained, scratched, and looking washed out.

Stained Black Slate Kitchen Floor Before Cleaning Charlwood

The solution was clear in that both issues could be resolved by replacing the sealer which would take two days. Day one would would focus on removing all the original sealer by deep cleaning the tiles and then on day two a fresh sealer would be added to restore the Black colour of the Slate and protect the stone going forward. Having agreed my quote, a date was scheduled for the work to begin.

Stained Black Slate Kitchen Floor Before Cleaning Charlwood Stained Black Slate Kitchen Floor Before Cleaning Charlwood

Charlwood is a small village in East Surrey on the border of West Sussex, it’s close to Gatwick airport with the perimeter running immediately to the Southwest. There were times when the local government wanted to move the village into West Sussex, but this was unpopular and so it stayed in Surrey.

Deep Cleaning a Black Slate Tiled Kitchen Floor

To remove the sealer, I applied a strong dilution of Tile Doctor Pro-Clean which is our go to tile and grout cleaning product that can also strip sealers off a floor. This was left to soak in for ten minutes before scrubbing it in with a Black pad fitted to a rotary floor buffer. I also gave the grout a good clean using more Tile Doctor Pro-Clean and a handheld scrubbing brush. Once done the soiling was rinsed away with more water and extracted with a wet vacuum.

I then turned my attention to the staining using a fine handheld diamond block. This gently skims a little stone away from the surface taking the stain and scratches along with it. A heat gun was used to speed dry the problem areas so I could quickly see if further work was needed and repeat the process until I was satisfied the Slate was looking at its best. After a final rinse the wet vacuum was used to remove as much moisture as possible and the floor left to dry off overnight.

Sealing Black Slate Kitchen Floor Tiles

The next day I returned and after passing the damp test I was able to seal the floor with Tile Doctor Seal and Go Extra. This leaves a nice sheen for clients who don’t want a very shiny floor but want good protection from the wear and tear caused by the kids.

Stained Black Slate Kitchen Floor After Cleaning Sealing Charlwood

Once complete the Black Slate looked like a new floor and client was very pleased with the result. Before leaving I took time to discuss on-going cleaning and recommend the use of a Neutral Tile Cleaner. This is important as many of the tile cleaning products you find in supermarkets are simply too strong for use on sealed tiles and can prematurely erode the sealer.

Stained Black Slate Kitchen Floor After Cleaning Sealing Charlwood


Professional Renovation of a Black Slate Tiled Kitchen in East Surrey

Problematic Black Slate Kitchen Floor Renovated in Charlwood near Gatwick Read More »

Terracotta Tiled Floor Renovated Dormansland

End of Tenancy Terracotta Clean and Seal Kitchen Floor for Dormansland Landlord

A landlord contacted to have the Terracotta floor tiles in the Kitchen of a rental property in Dormansland, near Lingfield, cleaned and sealed after Tenants moved out. There are plenty of “end of tenancy cleaning” companies around however they don’t specialise on tile and grout and therefore won’t have the equipment to deep clean them properly.

Terracotta is a porous material so it has to be protected with a sealer to prevent dirt from becoming ingrained in its pores, as once this happens it’s a real struggle to remove. Pitfalls including using the wrong cleaning method which can result in scratching and not allowing the tile to dry before sealing which can result in an uneven finish.

Terracotta Tiled Kitchen Floor Test Cleaning Dormansland

Before quoting for the work, I visited the property and carried out a small test clean. For this I used both a black nylon pad and then a 400-grit diamond pad. The result from the black pad was ok but not exceptional but the result from the 400-grit pad was much better. The diamond pad uses industrial diamonds to cut through and loosen the dirt however the pads are expensive, so I like to try an alternative first. The client was happy for me to go ahead, he just wanted me to ensure the floor was nice and tidy and was easy for the new tenants to keep clean and maintain.

Deep Cleaning Terracotta Tile and Grout

On arrival first I taped up the kitchen plinths and the skirting boards to protect them from the cleaning solutions I would be using which can be quite messy. I started by cleaning the grout first then the tiles. With the grout being recessed it tends to gather dirt easily and is best cleaned by hand using a wire brush and Tile Doctor Pro-Clean.

Terracotta Tiled Kitchen Floor Before Cleaning Dormansland Terracotta Tiled Kitchen Floor During Cleaning Dormansland

After the grout I turned my attention to the Terracotta tiles which were pre-wetted in Tile Doctor Remove and Go and then scrubbed using the 400-grit diamond pad mentioned earlier. Once the whole floor was treated in this way it was rinsed with water and the soiling removed with a wet vacuum.

Once done the floor was inspected and stubborn areas were retreated until I was satisfied with the condition of the Terracotta and grout. Then after a final rinse and extraction the floor was left to dry off overnight.

Sealing a Terracotta Tiled Kitchen Floor

Returning the next day, I tested the floor with the damp meter to check for remaining moisture. The tests confirmed that the floor was dry enough to seal, I applied three coats of Tile Doctor Seal and Go Extra. The customer wanted a strong sealer but not too glossy. The alternative Tile Doctor Seal and Go can be thought to be too glossy so Tile Doctor Seal and Go Extra is a good compromise.

Terracotta Tiled Kitchen Floor After Cleaning Sealing Dormansland

I suggested leaving a bottle of Tile Doctor Neutral Tile Cleaner for the incoming new tenant. Hopefully if they use it regularly, they will keep the floor in good condition. It is pH neutral and mild enough to use every day but will not compromise the newly applied seal. Standard household cleaners tend to be too strong and will break down the sealer which will take the floor back to square one.

He was delighted with the overall finish and agreed encouraging them to use the cleaner would be a good plan.

Terracotta Tiled Kitchen Floor After Cleaning Sealing Dormansland


Professional Restoration of a Terracotta Tiled Kitchen in West Surrey

End of Tenancy Terracotta Clean and Seal Kitchen Floor for Dormansland Landlord Read More »

Victorian Hallway Floor Restoration Reigate

Victorian Tiled Hallway Deep Cleaned and Sealed in Reigate

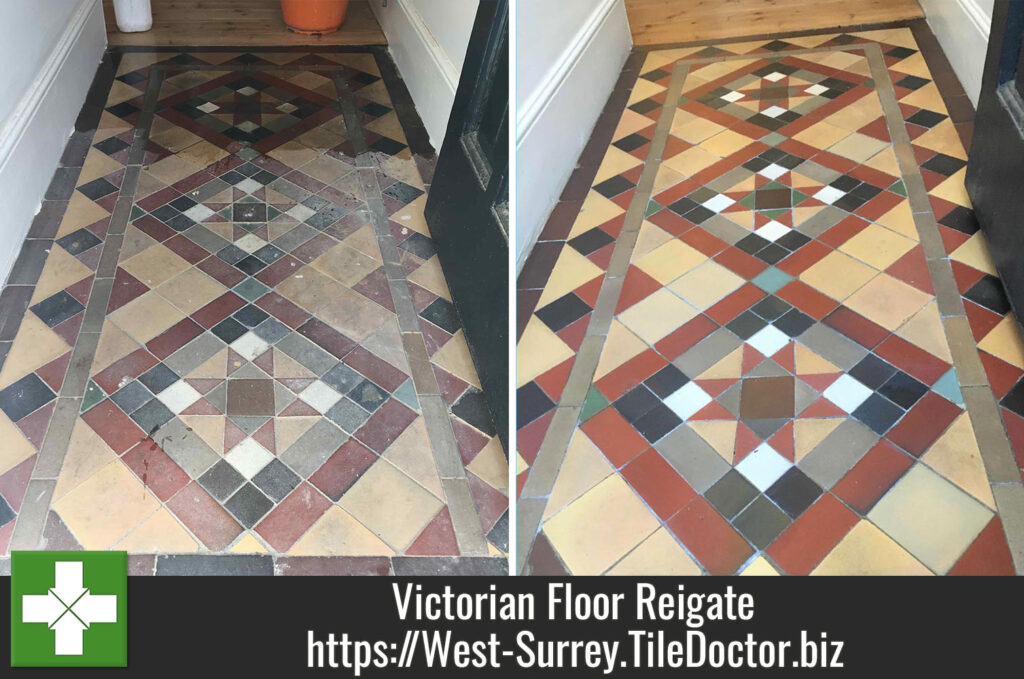
It had been a while since this Victorian tiled hallway at a property in Reigate had received a deep clean and re-seal and it was now looking quite unloved. The sealer had almost worn off and dirt had become ingrained in the pores of the tile leaving it dull and lifeless. Hallways floors receive a lot of foot traffic so do need regular attention if they are to look their best and this example was no different.

Fortunately, the floor was intact with no broken or loose tiles to deal with, there were a few chipped tiles in the floor but I think that adds character to a floor of this age. I worked out a quote to deep clean the tiles, flush out the dirt and add a fresh sealer to protect them. The quote was accepted and a date set for the work to commence.

Victorian Tiled Hallway Floor Before Restoration Reigate

Deep Cleaning a Victorian Tiled Hallway Floor

I started the work by applying a generous coating of Tile Doctor Oxy-Gel and left it to soak into the pores of the Victorian tiling for around 30 minutes. I used Oxy-Gel so as to minimise the use of water which can exacerbate efflorescence salt issues which is a typical problem of floors of this age that don’t have the benefit of a damp proof membrane.

Then using a very coarse 100-grit diamond encrusted pad attached to a rotary floor machine the tiles were given a good scrub. This process skims away a small layer off the surface of the tiles to remove the dirt and old coatings such as sealers. All the soil was extracted from the floor using a wet vacuum and I repeated this process twice for maximum effect.

At this point the tiles were already looking significantly better but I hadn’t finished yet. I still needed to deal with the edges and corners where the pad can struggle to reach. For this I use handheld burnishing blocks and more Oxy-Gel, you need a lot of elbow grease to do this but its an important step and can also be used to deal with any stubborn areas.

Once finished I used a little water to help rinse off the floor and the wet vacuum again to get the floor as dry as possible before leaving the floor to dry off completely overnight.

Sealing a Victorian Tiled Floor

The tiles need to be dry before sealing so the next day my first action was to test the floor for moisture using a damp meter. They passed and were ready to take a sealer which for this floor I used Tile Doctor seal and Go Extra. It’s super tough and ideal for doorways and hallways and leaves a nice sheen without being too shiny.

Victorian Tiled Hallway Floor After Restoration Reigate

Before leaving I left advice on how to maintain the tiles using Tile Doctor Neutral Tile Cleaner which is a gentle tile cleaning product that will clean the floor without impacting the sealer which can be a problem with many of the strong products you find in supermarkets.


Professional Cleaning and Sealing of a Victorian Tiled Hallway in East Surrey

Victorian Tiled Hallway Deep Cleaned and Sealed in Reigate Read More »

Soiled Victorian Path Repair Restoration Esher

Neglected Victorian Tiled Pathway Repaired and Restored in Esher

This customer in Esher requested help renovating their Victorian tiled pathway which as you can see from the photograph below was looking very neglected and in a poor state of repair. As well as some damage and missing tiles, dirt had been come ingrained and, in some places, there was vegetation growing between the tiles.

Soiled Victorian Tiled Pathway before renovation Esher

When working on external Victorian tiles like this example you really do need to have warm weather and I will often put requests for restoration work like this one on hold until the spring on summer.

Restoring a Heavily Soiled Victorian Tiled Path

To remove all the vegetation and clean up the tiles, I applied a mixture of acid-based Tile Doctor Grout Clean-up and left it to dwell and soak in for a good thirty minutes. This product removes mineral deposits from the tile and will neutralise salt problems such as efflorescence.

The solution was worked into the tiles using a rotary floor buffer fitted with a coarse 100-grit diamond pad. The industrial diamonds in the pad skim the surface of the tile exposing its original colour. All dirt is washed away and removed using a wet vacuum. The tiles were then left to dry.

While drying I carefully removed all the broken tiles with a hammer and chisel. Old Victorian tiles are super tough but often brittle so care must be taken when removing a single tile as very often the one next to it will pop out as a result some tiles should just be left where they are or you end up replacing half the path. I do have to warn customers that due to the age of the installation an “as new” result is an unrealistic expectation. These paths are often over 100 years old and are susceptible to our weather. I often tell customers they can expect some “Characterful” features once the job is done.

Once the path was cleared of debris, I set about cutting and fitting replacement tiles which I had managed to source earlier. Victorian tiles are still very popular and there are several companies in the UK where you can find a good match for your project.

Sealing a Victorian Tiled Pathway

The weather was excellent so it wasn’t long before I was able to move onto sealing the tiles with a couple of coats of Tile Doctor Colour Grow. This is a fully breathable sealer that will cope with the weather and as its name suggests it enhances the colours in the tile, the new sealer will protect the tiles for ingrained dirt going forward making the path very easy to clean. Also, the new sealer did a great job of blending in the new and replacement tiles.

Soiled Victorian Tiled Pathway after renovation Esher

Once complete the path was completely transformed and looked so much healthier. Naturally there were some “Characterful” imperfections but as I mentioned earlier this just echoes the history of the property.

For aftercare cleaning I recommended the use of Tile Doctor Neutral Tile Cleaner. Most tile cleaning products you find in supermarkets are simply too strong for the sealer and can degrade them prematurely.


Professional Victorian Tiled Pathway Floor Maintenance in Surrey

Neglected Victorian Tiled Pathway Repaired and Restored in Esher Read More »

Scroll to Top